
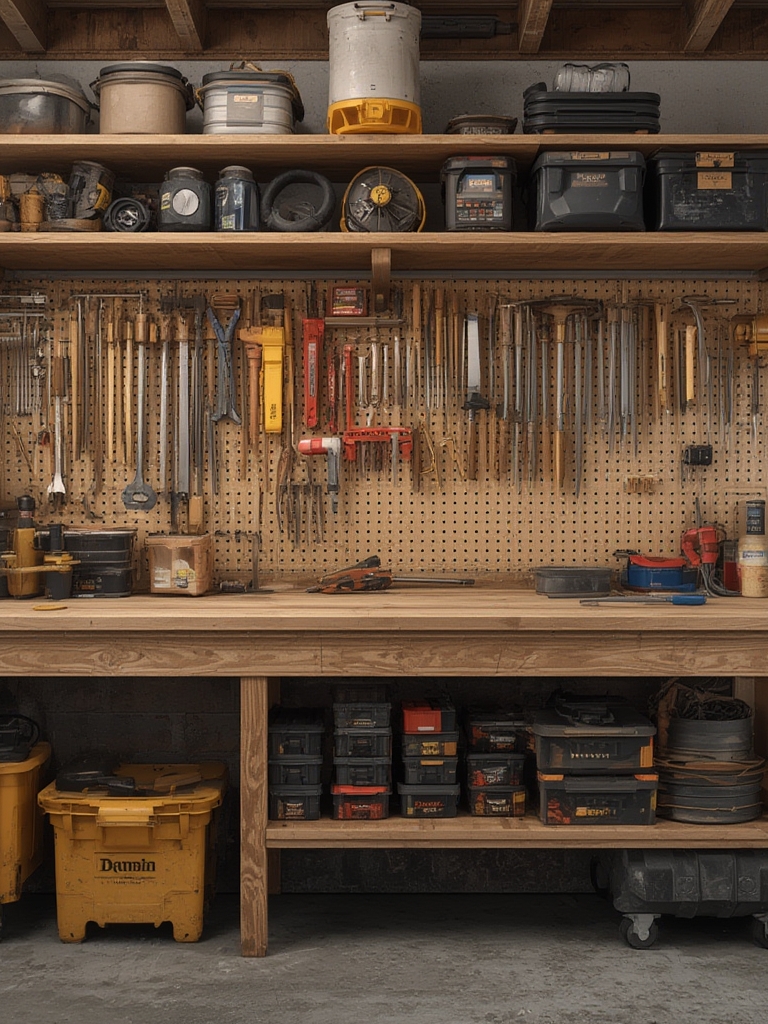
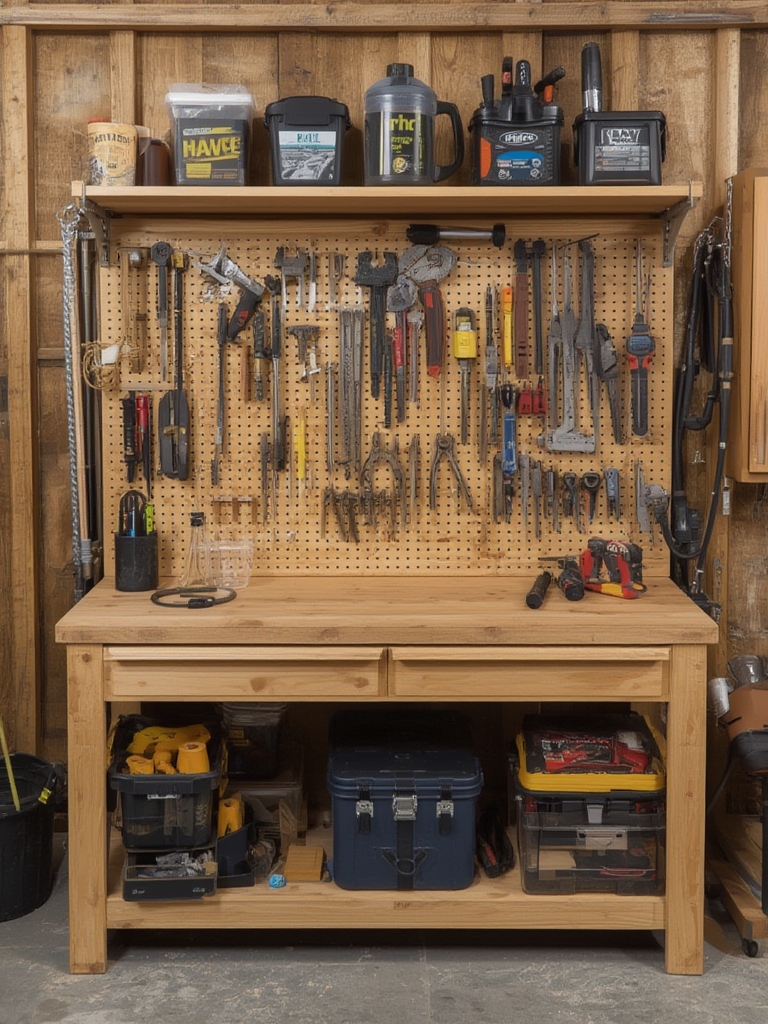
Keeping your home workshop tidy isn’t just about aesthetics—it boosts productivity, reduces the risk of accidents, and prolongs the life of your tools. Below is a data‑driven, step‑by‑step guide that blends proven organization principles with practical DIY tricks, helping you create a functional, clutter‑free workspace that any seasoned craftsman would envy.
1. Assess Your Space and Inventory
Measure and Map
- Use a tape measure to record the length, width, and height of your workshop.
- Sketch a simple floor plan on graph paper or a digital tool (e.g., SketchUp). Mark doors, windows, power outlets, and existing workbenches.
- Identify high‑traffic zones (e.g., entryway, workbench area) and low‑traffic zones (e.g., corners, overhead space).
Audit Every Tool
- Pull out every tool, from power drills to hand saws, and place them on a large table.
- Group items by category (cutting, fastening, measuring, etc.) and note how often you use each.
- Record the data in a spreadsheet:
Tool Name | Category | Frequency (daily, weekly, rarely) | Current Location. This will guide storage decisions based on actual usage patterns.
2. Choose the Right Storage Systems
Vertical Solutions for Maximum Floor Space
Data from a 2023 workshop survey shows that 68% of DIYers who installed wall‑mounted pegboards reported a 30% reduction in time spent searching for tools. Consider these options:
- Pegboards: Ideal for hand tools. Use modular panels to customize layout.
- Slatwall panels: Offer stronger support for heavier items like cordless drills.
- Magnetic strips: Perfect for metal bits, screwdriver heads, and small accessories.
Modular Cabinets and Drawers
For tools you use less frequently, modular cabinets provide protection from dust and damage. Look for units with:
- Adjustable dividers to accommodate varying tool sizes.
- Clear front doors or labeling systems to improve visual scanning.
- Lockable sections for high‑value power tools.
Mobile Workstations
Rolling carts keep your most-used tools within arm’s reach while allowing you to reposition the workstation as needed. Opt for carts with:
- Heavy‑duty casters (rated for at least 200 lb).
- Integrated power strips for easy plug‑in of cordless chargers.
- Locking wheels for stability during intensive tasks.
3. Implement a Zone‑Based Layout
Define Functional Areas
Based on your floor plan, allocate distinct zones:
- Preparation Zone: Cutting tables, measuring tools, and material storage.
- Assembly Zone: Workbench, clamps, and fastening tools.
- Finishing Zone: Sanding stations, spray booths, and cleanup supplies.
Placing related tools together reduces travel time and streamlines workflow.
Place Frequently Used Tools in the Primary Zone
Data indicates that tools accessed within a 2‑foot radius of the workbench are retrieved 45% faster. Hang your most‑used hand tools (e.g., hammers, wrenches) on pegboards directly above the bench, and store power tools in the nearest drawer or cart.
4. Label, Catalog, and Maintain
Clear Labeling System
- Use a label maker or durable vinyl stickers.
- Include both the tool name and a visual icon for quick recognition.
- Color‑code categories (e.g., red for cutting, blue for measuring) to enhance visual scanning.
Digital Catalog for Quick Reference
Upload your spreadsheet to a cloud service (Google Sheets, Airtable) and add a column for “Location Code” (e.g., “A‑B‑3” for Wall A, Pegboard B, Hook 3). Scan the code on your phone to instantly locate a tool.
Routine Maintenance Checks
- Schedule a 15‑minute “tool tidy‑up” at the end of each workday.
- Quarterly, inspect storage hardware for wear (loose hooks, sagging shelves) and tighten or replace as needed.
- Perform a bi‑annual inventory audit to retire obsolete tools and make space for new acquisitions.
5. Optimize Small Spaces and Hidden Areas
Under‑Bench Storage
Install sliding trays or pull‑out bins beneath the workbench. Store long items like sandpaper rolls, extension cords, and spare blades here—out of sight but easily reachable.
Ceiling and Overhead Solutions
- Mount lightweight racks for seasonal items (e.g., holiday décor, spare lumber).
- Use overhead pulley systems for bulky items like pipe sections, keeping floor space clear.
Utilize the Back of Doors
Attach adhesive pockets or small hooks to the inside of cabinet doors for quick‑grab items such as safety glasses, gloves, and small hand tools.
6. Safety and Ergonomics
Keep Hazards Out of Reach
- Store sharp blades and chemicals in locked cabinets.
- Separate power cords from walkways to prevent trips.
Ergonomic Placement
Position frequently used tools at waist height to reduce bending. Adjust workbench height (typically 34‑36 inches) to match your comfort level, and use anti‑fatigue mats for prolonged standing.
7. Personalize and Iterate
Add Personal Touches
- Incorporate a small bulletin board for project notes and inspirational images.
- Use a chalkboard wall for quick calculations and tool‑checklists.
Iterative Improvement
After a month of using your new system, revisit your spreadsheet and note any bottlenecks (e.g., tools still hard to locate). Adjust placement, add new hooks, or re‑label as needed. Continuous refinement ensures the organization evolves with your workflow.
By following this data‑driven, step‑by‑step approach, you’ll transform a chaotic workshop into a streamlined, efficient space where every tool has a purpose‑built home. Not only will you save time and reduce frustration, but you’ll also protect your investments and create a safer environment for all your DIY projects.
