
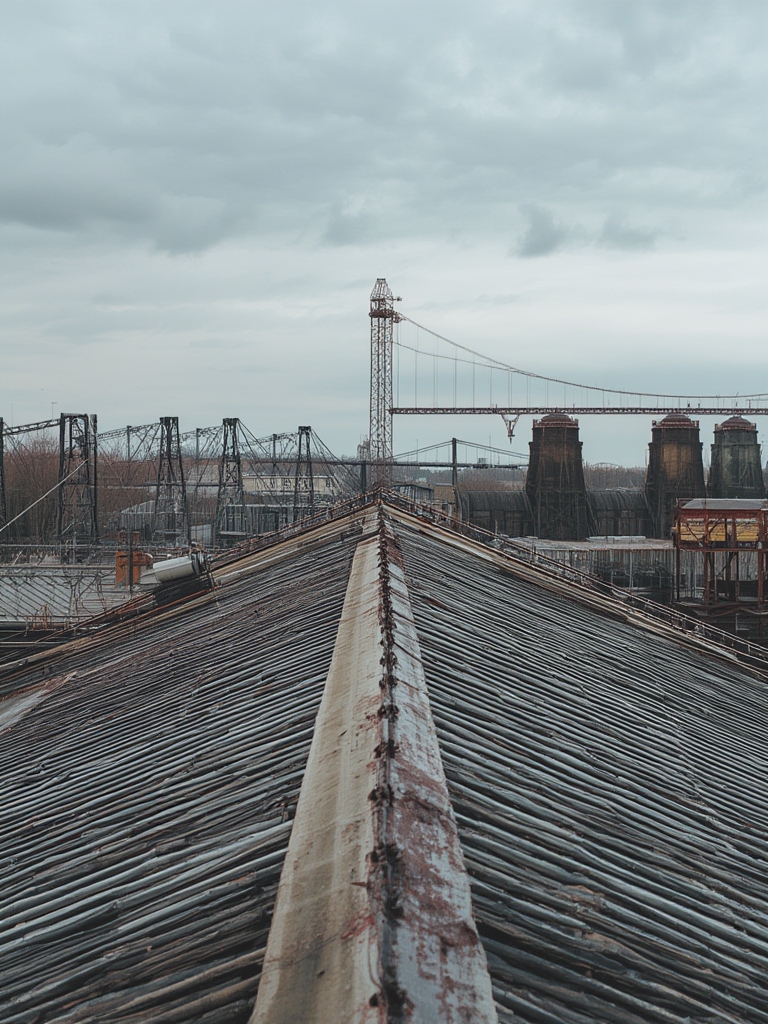
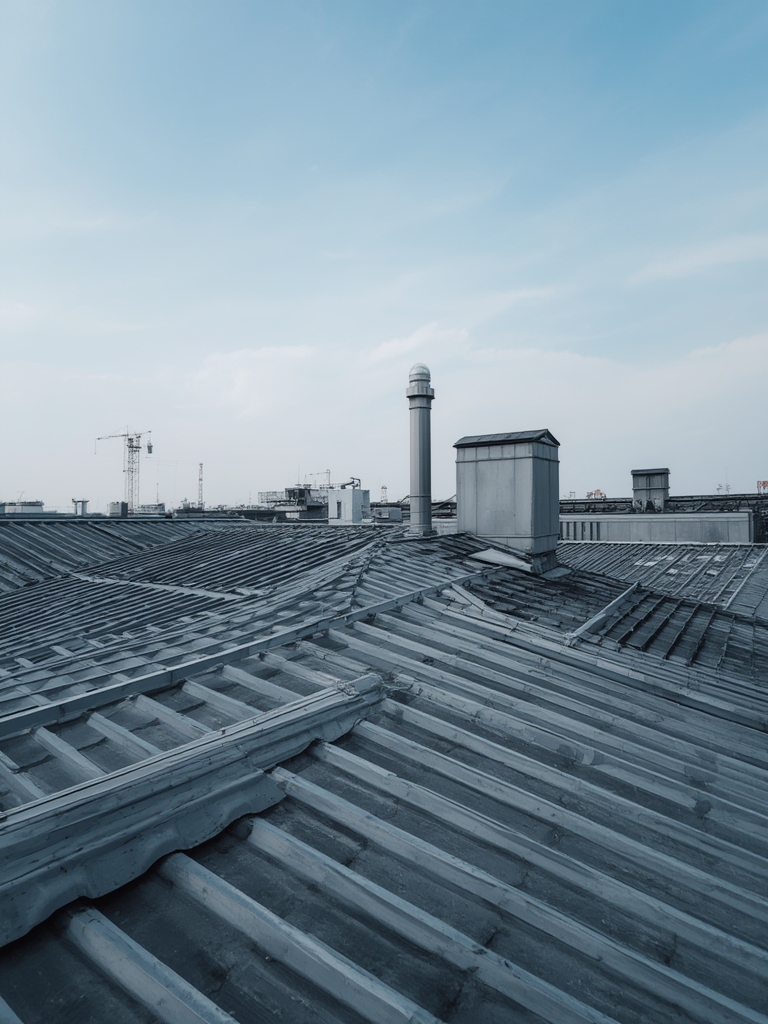
When it comes to boosting property value, cutting energy costs, and showcasing eco‑friendly design, an industrial‑style home roof equipped with a sustainable green layer is a game‑changer. This guide walks you through a data‑driven approach to planning, installing, and maintaining a durable, low‑maintenance roof system that combines industrial aesthetics with thriving rooftop vegetation. Follow the step‑by‑step instructions and actionable tips to ensure a successful, long‑lasting installation.
Why Choose an Industrial‑Style Green Roof?
- Energy Efficiency: Reflective metal panels and insulated layers can reduce cooling loads by up to 30% (Energy Star, 2023).
- Stormwater Management: Green roofs retain up to 70% of rainfall, lessening runoff and protecting local waterways.
- Longevity: Properly designed industrial roofs have a lifespan of 30‑50 years, and the vegetative layer adds extra protection against UV and temperature fluctuations.
- Curb Appeal: The juxtaposition of sleek metal or concrete with lush, low‑maintenance plants creates a striking visual statement.
Step 1: Conduct a Site Assessment
1.1 Structural Load Evaluation
Start by hiring a structural engineer to confirm the roof can support the additional dead load of the green system (typically 30–150 lb/ft²). Use a load‑calculation spreadsheet that factors in:
- Base roof weight (metal decking, insulation)
- Growing medium depth (2–4 in. for extensive, 6–12 in. for intensive systems)
- Plant weight when saturated (≈ 10 lb/gal of water)
Tip: If the analysis shows a margin of safety under 10 %, consider reinforcing joists with steel brackets before proceeding.
1.2 Climate & Sun Exposure Analysis
Gather local climate data (temperature extremes, precipitation, wind) from the nearest NOAA station. Map sun exposure using a solar pathfinder or a free online tool like SunCalc. Document the number of full‑sun, partial‑shade, and full‑shade zones across the roof.
Actionable Advice: Choose drought‑tolerant species for zones receiving > 6 hours of direct sun, and moisture‑loving varieties for shaded corners.
Step 2: Design the Roof System
2.1 Choose the Roof Type
Industrial roofs often use one of these membranes:
- TPO (Thermoplastic Olefin): Excellent UV resistance and seamability.
- EPDM (Ethylene Propylene Diene Monomer): Long lifespan, ideal for low‑slope roofs.
- Modified Bitumen: Heavy‑duty, great for high‑traffic roofs.
Match the membrane to the building’s climate; TPO performs best in hot, sunny regions, while EPDM excels in colder zones.
2.2 Select the Green Roof System
Two main categories exist:
- Extensive: Lightweight (30–80 lb/ft²), low‑maintenance, 2–4 in. substrate, suitable for industrial roofs.
- Intensive: Heavier (150–300 lb/ft²), deeper soil, supports shrubs and small trees.
For an industrial home roof, the extensive system is usually the most cost‑effective choice.
2.3 Layout Planning
Using a CAD or SketchUp model, plot the following layers (from bottom to top):
- Roof deck and waterproof membrane
- Root‑barrier sheet (geotextile)
- Drainage layer (plastic or mineral board)
- Filter fabric
- Growing medium
- Planting modules or seed‑sown mats
Include expansion joints and access points for maintenance. Export the plan as a PDF for the installation crew.
Step 3: Install the System
3.1 Prepare the Deck
Clean the roof surface, repair any leaks, and install a high‑quality vapor barrier if required. Ensure the deck is level; any deviation over 1/8 in. per 10 ft should be sanded or shimed.
3.2 Apply the Waterproof Membrane
Follow the manufacturer’s recommended seam welding temperature (typically 350 °F for TPO). Conduct a water‑tightness test (flood test) before moving to the next layer.
3.3 Install Drainage & Filter Layers
Lay the drainage board, securing it with corrosion‑resistant staples. Overlap edges by 6 in. and seal with waterproof tape. Place the filter fabric on top to prevent substrate migration.
3.4 Spread the Growing Medium
Using a bulk hopper, distribute the pre‑mixed substrate to the specified depth (e.g., 3 in. for extensive). Rake it smooth and compact lightly with a hand tamper to avoid future settlement.
3.5 Planting
For an industrial look, consider low‑profile, drought‑tolerant species such as:
- Sedum album (white stonecrop)
- Sempervivum tectorum (hens and chicks)
- Festuca glauca (blue fescue)
Use pre‑seeded mats or hand‑place plugs at a spacing of 12–18 in. Water lightly to settle the seeds.
Step 4: Establish a Maintenance Routine
4.1 Initial Irrigation (First 4–6 Weeks)
Water the roof daily for the first two weeks, then every other day, ensuring the substrate stays moist but not saturated. Use a low‑pressure sprinkler or drip line to avoid runoff damage.
4.2 Seasonal Checks
- Spring: Remove debris, inspect for membrane cracks, and fertilize lightly (10‑10‑10, 1 lb per 1,000 ft²).
- Summer: Monitor for drought stress; increase irrigation during heatwaves.
- Fall: Prune any overgrown plants, clean gutters, and apply a thin layer of mulch to protect roots from frost.
- Winter: Ensure drainage paths are clear of snow buildup; consider a temporary snow guard if heavy snowfall is common.
4.3 Long‑Term Health Monitoring
Every six months, take a core sample (2‑in. diameter) to assess substrate density and pH. Ideal pH for most succulents is 6.0–7.0. Adjust with lime or sulfur as needed.
Quick Tip: Install a wireless moisture sensor (e.g., SoilSense) that alerts you via a mobile app when substrate moisture falls below 15% volumetric water content.
Step 5: Optimize for SEO & User Engagement
5.1 Keyword Integration
Target long‑tail keywords such as “industrial green roof installation,” “low‑maintenance rooftop plants,” and “energy‑saving roof ideas.” Place them naturally in headings, the first 100 words, and alt‑text for images.
5.2 Structured Data
Add Article schema markup with fields like author, datePublished, and image. This improves visibility in Google’s rich results.
5.3 Internal Linking
Link to related posts on your site (e.g., “Top 5 Drought‑Resistant Plants for Rooftop Gardens” and “How to Choose the Right Roof Membrane”). This distributes link equity and keeps readers on your site longer.
5.4 Visual Content
Include high‑resolution before‑and‑after photos, an infographic of the roof layer stack, and a short 60‑second video walkthrough. Optimize image file names (e.g., industrial-roof-green-layer.jpg) and compress them for faster load times.
Final Checklist
- ✅ Structural load verified and reinforced if needed
- ✅ Climate data analyzed and plant zones mapped
- ✅ Roof membrane selected and water‑tightness tested
- ✅ Drainage, filter, and substrate installed to spec
- ✅ Plant species chosen for industrial aesthetic and low maintenance
- ✅ Irrigation schedule set for the establishment period
- ✅ Seasonal maintenance calendar created
- ✅ SEO elements (keywords, schema, internal links) implemented
By following these data‑driven steps, you’ll transform a standard industrial roof into a resilient, energy‑efficient, and visually striking rooftop garden that adds value for years to come.
