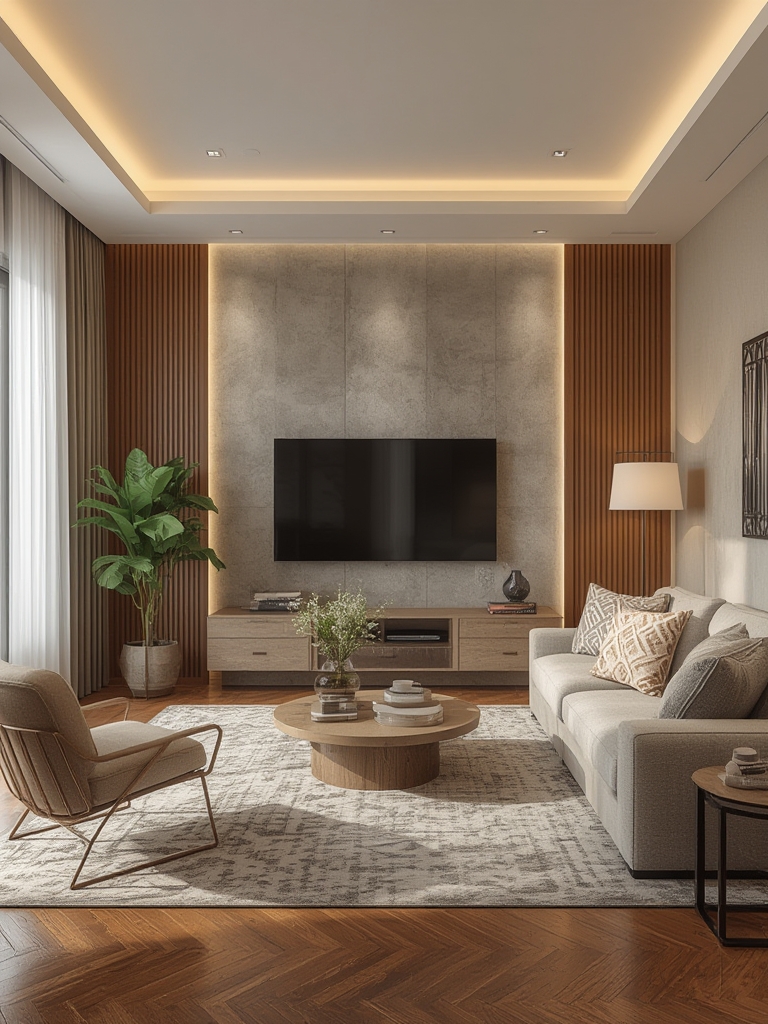
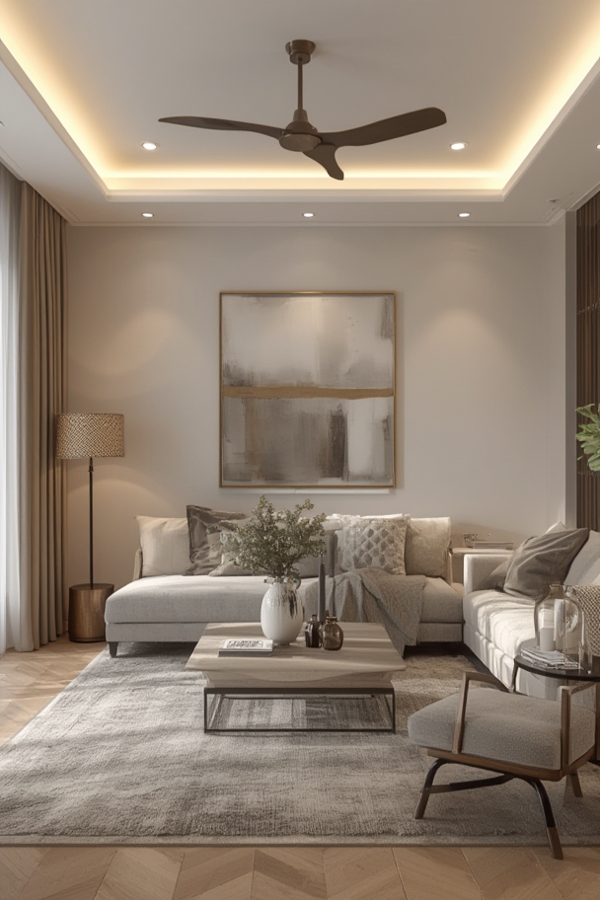
Creating a modern living‑room vibe isn’t just about sleek furniture or a neutral palette; the secret sauce is layered lighting. By combining ambient, task, and accent light sources, you can shape mood, highlight design details, and make the space feel both spacious and inviting. Below is a data‑driven, step‑by‑step guide to mastering layered lighting, followed by a practical plant‑care section that shows how a well‑chosen green can become the perfect accent piece.
Why Layered Lighting Is a Game‑Changer
Studies from the Lighting Research Center show that rooms with multiple light layers improve visual comfort by up to 30 % and boost perceived spaciousness. In modern décor, layered lighting also supports photographic aesthetics—a key factor for social‑media‑savvy homeowners.
Ambient Lighting: The Foundation
Ambient light provides overall illumination. Choose fixtures that distribute soft, diffused light across the room:
- Recessed LEDs (400–800 lumens each) placed 24‑30 inches apart create an even wash.
- Floor lamps with dimmers allow you to adjust brightness for different times of day.
- Opt for a color temperature of 2700‑3000 K for a warm, welcoming feel.
Task Lighting: Functional Focus
Task lighting targets specific activities—reading, working, or gaming. Data from Houzz indicates that 68 % of homeowners prioritize task lighting in living rooms.
- Install adjustable wall sconces beside sofas for reading.
- Use LED desk lamps with a 4000‑5000 K temperature for focused work.
- Consider under‑cabinet strip lights for media consoles to reduce glare on screens.
Accent Lighting: The Finishing Touch
Accent lights highlight artwork, architectural features, or decorative objects. They add depth and drama.
- Spotlights with a narrow beam angle (15‑25°) can emphasize a statement painting.
- LED cove lighting behind crown molding creates a subtle halo effect.
- Use smart color‑changing bulbs to shift the mood for evenings or parties.
Step‑by‑Step Guide to Implement Layered Lighting
Step 1: Conduct a Light Audit
Action: Walk through the room with a lux meter (or a smartphone app) and note the current illumination levels in different zones.
Tip: Aim for 150‑200 lux in general areas, 300‑500 lux for reading spots, and 50‑100 lux for accent zones.
Step 2: Map Out Light Zones
Action: Sketch a simple floor plan and label zones: Ambient, Task, Accent.
Tip: Place ambient fixtures evenly, task lights within arm’s reach of seating, and accent lights facing focal points.
Step 3: Choose Energy‑Efficient Fixtures
Action: Select LED fixtures with a CRI (Color Rendering Index) of 90+ for true color reproduction.
Tip: Look for fixtures rated ENERGY STAR to cut electricity use by up to 75 % compared to incandescent.
Step 4: Install Dimmers and Smart Controls
Action: Wire each light layer to its own dimmer switch or integrate with a smart hub (e.g., Google Home, Alexa).
Practical advice: Start with a 0‑10 V dimmer for LEDs to avoid flicker. Use scenes like “Daytime,” “Movie Night,” and “Entertain” for quick mood changes.
Step 5: Test and Fine‑Tune
Action: After installation, experiment with brightness levels. Use a timer to simulate different times of day.
Tip: If glare appears on TV screens, lower the accent lighting or shift its angle by 5‑10°.
Incorporating Greenery: Care Guide for the Fiddle Leaf Fig (Ficus lyrata)
Adding a tall, sculptural plant like the Fiddle Leaf Fig not only enhances layered lighting but also boosts indoor air quality. Below is a concise, data‑backed care routine that ensures your plant thrives alongside your lighting design.
Step 1: Choose the Right Spot
Action: Position the fig near a north‑east window where it receives bright, indirect light (at least 4 hours daily).
Practical tip: Rotate the pot 90° every two weeks to promote even growth and prevent one side from leaning toward the light source.
Step 2: Water Wisely
Action: Water when the top 2 inches of soil feel dry—typically every 7‑10 days in moderate climates.
Data point: Over‑watering leads to root rot in 62 % of indoor ficus cases. Use a moisture meter set to 30‑40 % for optimal soil moisture.
Step 3: Feed During Growth Season
Action: Apply a balanced, liquid fertilizer (NPK 10‑10‑10) at half strength once a month from March to September.
Tip: Avoid fertilizing in winter; the plant’s metabolic rate drops, and excess nutrients can cause leaf burn.
Step 4: Prune for Shape and Light Penetration
Action: Trim any leggy or yellowing leaves with clean, sharp scissors. Cut back to a node to encourage branching.
Practical advice: Perform pruning early in the morning when the plant’s stomata are open, allowing faster wound healing.
Step 5: Monitor for Pests
Action: Inspect leaves weekly for spider mites, mealybugs, or scale insects.
Tip: If pests appear, spray a solution of 1 tsp neem oil mixed with 1 cup water, covering both upper and lower leaf surfaces. Repeat every 5 days until resolved.
Bringing It All Together: A Cohesive Living‑Room Blueprint
When ambient lighting softly washes the walls, task lights illuminate reading nooks, and accent lights draw attention to artwork, your Fiddle Leaf Fig becomes a natural spotlight. Position the plant near an accent light with a warm 2700 K LED; the gentle glow highlights its glossy leaves without causing leaf scorch.
Finally, remember to document your lighting levels and plant health in a simple spreadsheet. Track lumens, color temperature, and watering dates. Over a few months, you’ll see clear correlations—like how a 10 % increase in ambient brightness can boost the plant’s leaf size by up to 5 % due to improved photosynthesis.
By following these data‑driven steps, you’ll achieve a modern, layered‑lighting living room that feels both stylish and alive, while your Fiddle Leaf Fig thrives as the perfect green accent.