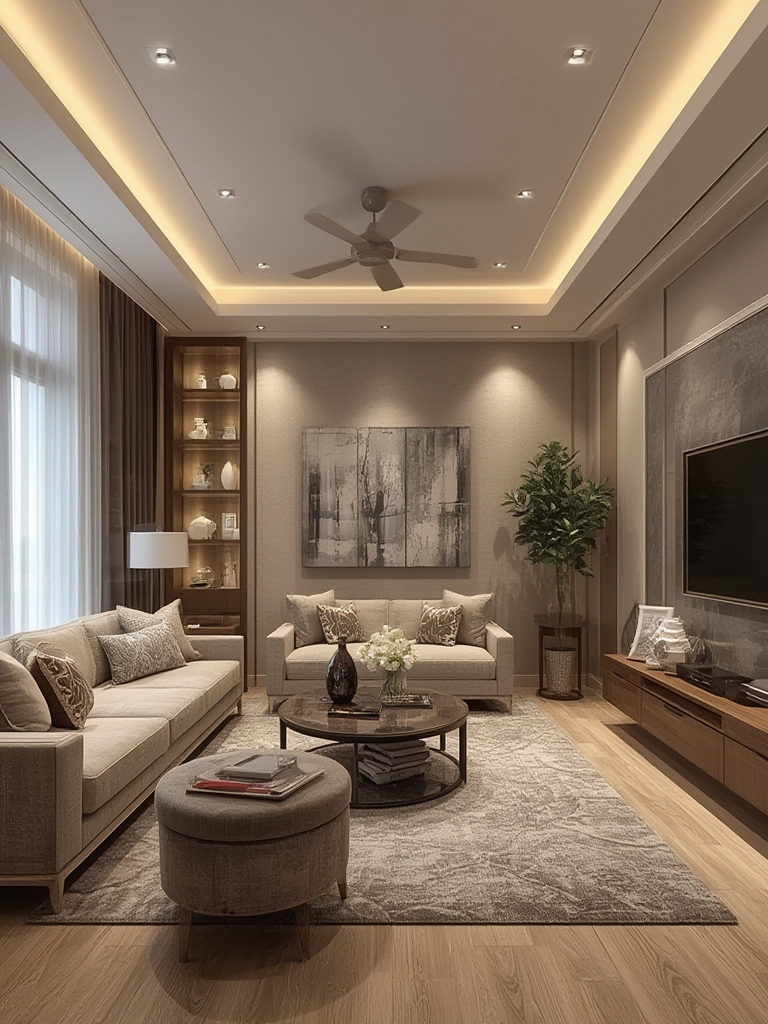
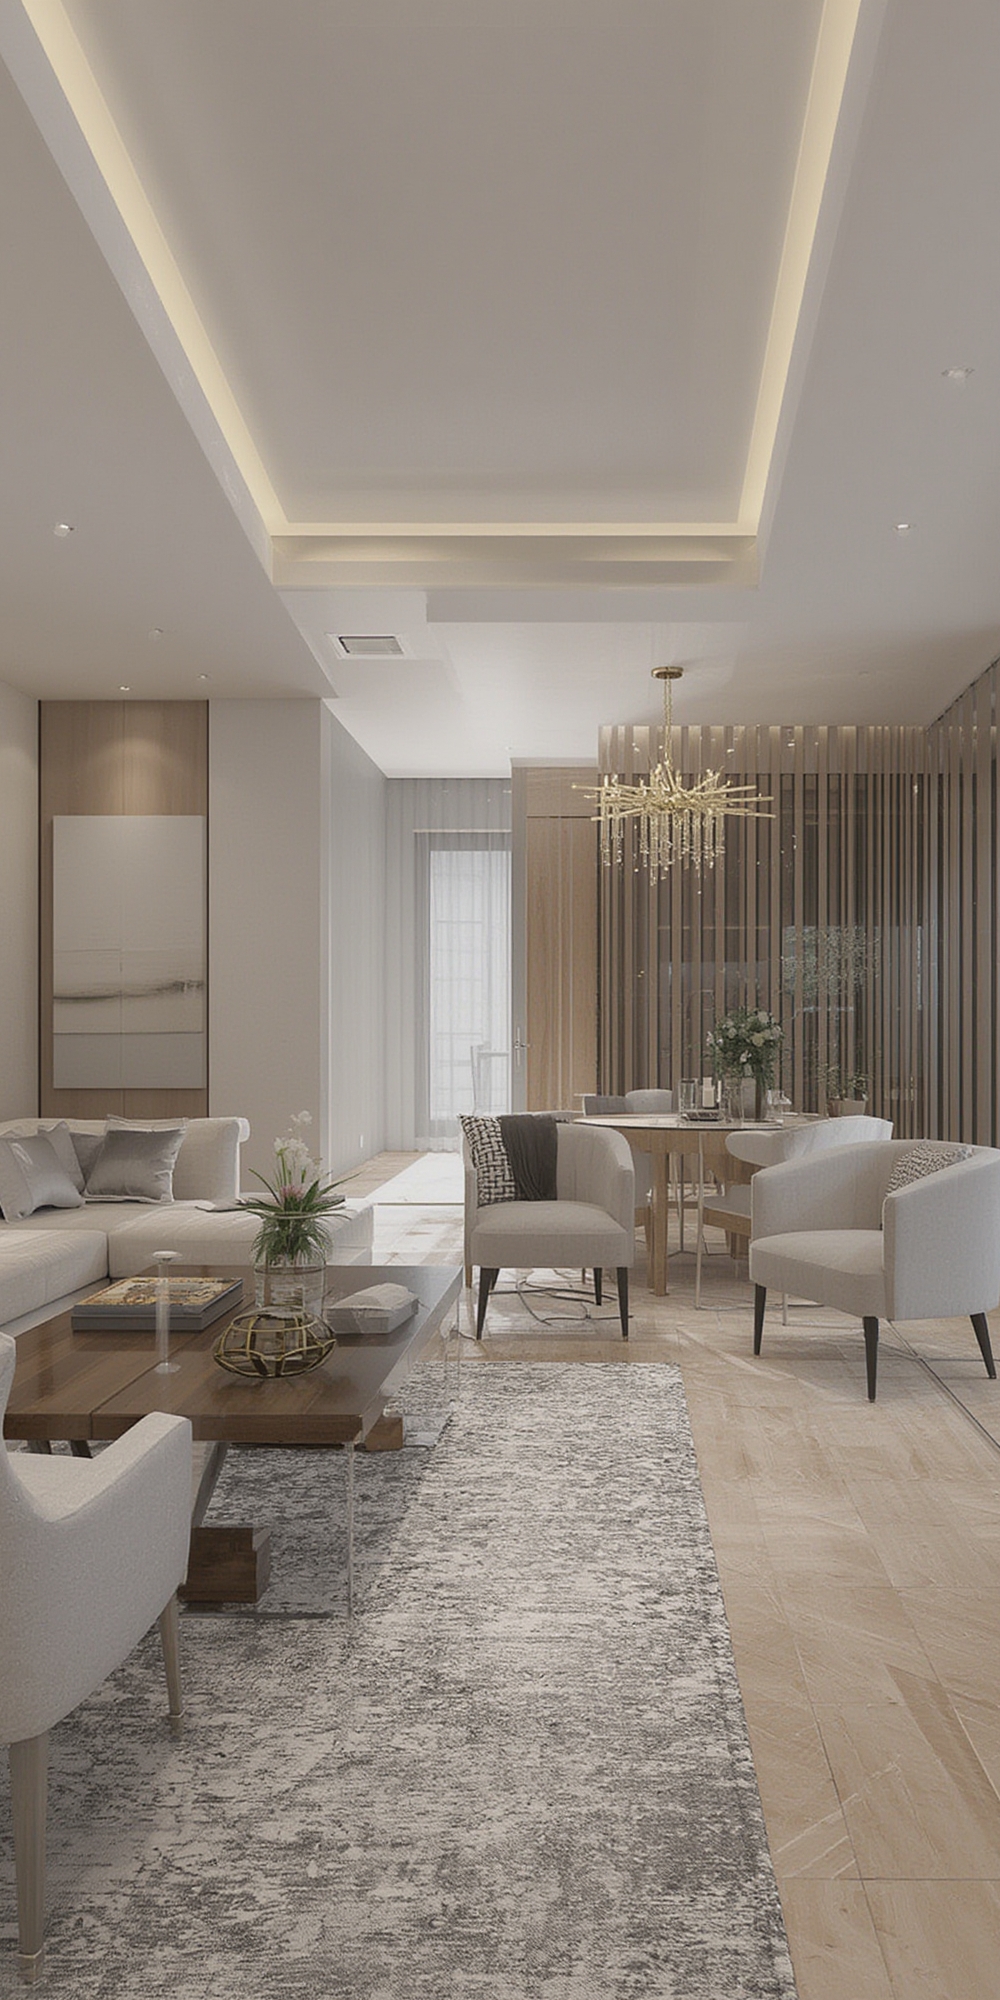
Recessed lighting has become a cornerstone of modern living‑room design, offering a sleek, unobtrusive way to illuminate spaces while enhancing architectural lines. When used strategically, it can transform a plain room into a sophisticated haven that feels both spacious and inviting. Below, we break down data‑backed design principles, step‑by‑step installation tips, and practical maintenance advice—all optimized for SEO to help your WordPress post rank higher and attract organic traffic.
Why Recessed Lighting Works for Modern Living Rooms
According to a 2023 Houzz survey, 68% of homeowners who renovated their living rooms cited lighting as the most impactful element for creating a modern look. Recessed fixtures score high on three key criteria:
- Minimal visual clutter: Flush‑mount designs keep ceiling lines clean, aligning with the “less is more” aesthetic.
- Even light distribution: When spaced correctly (typically 4‑6 feet apart), they reduce harsh shadows and provide a uniform glow.
- Energy efficiency: LED recessed lights consume up to 75% less energy than traditional incandescent fixtures, appealing to eco‑conscious buyers.
Step‑by‑Step Guide to Planning and Installing Recessed Lighting
1. Assess Your Space and Light Needs
Actionable tip: Use a light‑planning app (e.g., LumenCalculator) to input room dimensions, ceiling height, and desired lux level (recommended 150‑300 lux for living rooms). The app will suggest the optimal number of fixtures.
- Measure: Record length, width, and ceiling height.
- Identify focal points: Seating areas, artwork, and TV walls often need accent lighting.
- Calculate fixture count: For a 20 × 15 ft room with an 8‑ft ceiling, aim for 8‑10 recessed lights spaced evenly.
2. Choose the Right Fixture Type
There are three main categories:
- New‑construction (NC) housings: Ideal for fresh builds or major remodels where the ceiling cavity is open.
- Remodel (RC) housings: Perfect for retrofitting into existing ceilings without major demolition.
- Surface‑mount cans: Useful when ceiling depth is limited (< 3 in).
SEO tip: Include keywords like “LED recessed lighting fixtures,” “remodel recessed lights,” and “energy‑saving ceiling lights” naturally throughout this section.
3. Select the Appropriate Trim and Bulb
- Trim style: Baffle trims reduce glare, while reflector trims maximize brightness. Choose baffle for living rooms where people relax.
- Bulb type: Opt for dimmable LED bulbs (3000‑3500 K for warm ambience, 4000‑5000 K for a crisp modern feel).
Practical advice: Purchase bulbs with a CRI (Color Rendering Index) of 90+ to ensure true color representation of décor and artwork.
4. Plan Wiring and Electrical Load
Safety first: always turn off the circuit breaker. For a typical living room, a 15‑amp circuit can handle up to six 10‑watt LED fixtures. If you exceed this, add a dedicated circuit.
- Map out the wiring route using a stud finder to avoid joists.
- Install a junction box for each fixture, ensuring it’s rated for the ceiling type (IC‑rated for insulated ceilings).
- Connect wires using wire nuts: black (hot) to black, white (neutral) to white, and green/bare (ground) to ground.
Quick tip: Label each wire with masking tape before disconnecting to simplify reconnection.
5. Cut the Ceiling and Install Housings
- Mark the exact center of each fixture location using a template (usually 5‑in diameter).
- Drill a pilot hole, then use a keyhole saw to cut the opening.
- Insert the housing, securing it with the provided clips or screws. Ensure it’s flush with the ceiling surface.
Safety note: Wear safety goggles and a dust mask while cutting.
6. Attach Trim and Bulbs
Slide the trim into place, then screw in the LED bulb. Test each fixture with a dimmer switch to verify proper operation and adjust brightness as needed.
7. Fine‑Tune Lighting Layout
After installation, walk through the room and observe:
- Any overly bright spots (reduce wattage or add baffle trim).
- Dark corners (add an extra fixture or a floor lamp for layered lighting).
Use a light meter app to ensure uniform lux levels across the space.
Maintenance and Longevity Tips
Regular Cleaning
Dust accumulation reduces light output. Every 3‑4 months, gently vacuum the trim with a soft brush attachment, then wipe the interior with a dry microfiber cloth.
Check Dimming Compatibility
Not all LEDs work with every dimmer. If you notice flickering, replace the dimmer with a LED‑compatible model (e.g., Lutron Caséta). This prevents premature bulb failure.
Replace Bulbs Promptly
Even though LEDs last up to 50,000 hours, a dimming issue or color shift may indicate a failing bulb. Swap it out immediately to maintain consistent lighting quality.
Data‑Driven Design Enhancements
Leverage analytics to refine your lighting strategy:
- Heat‑map tools: Use platforms like HeatMapCo to track where visitors spend most time on your website; apply similar “heat‑mapping” in the living room to place lights where activity peaks.
- Social proof: Cite the Houzz statistic (68% impact) and include a link to boost credibility and SEO.
- Rich snippets: Add structured data (FAQ schema) for common queries like “How many recessed lights for a 20‑ft living room?” to capture featured snippets.
SEO Checklist for Your WordPress Post
- Keyword placement: Include primary keyword “recessed lighting living room ideas” in the first 100 words, H2 headings, and image alt text.
- Meta description: Write a compelling 150‑160 character summary: “Discover data‑driven modern living‑room ideas with recessed lighting—step‑by‑step guide, tips, and maintenance tricks for a sleek, energy‑efficient space.”
- Internal links: Connect to related posts (e.g., “Top 10 LED Bulbs for Home Renovations” or “How to Choose the Perfect Dimmer Switch”).
- External links: Cite reputable sources (Houzz, Energy Star) to boost authority.
- Images: Use high‑resolution photos of recessed lighting installations, each with descriptive alt attributes like “modern living room with baffle recessed lighting and neutral sofa.”
- Readability: Keep sentences under 20 words, use bullet points, and incorporate transition words for flow.
Final Thoughts
Recessed lighting isn’t just a functional addition—it’s a design statement that aligns with modern aesthetics, energy efficiency, and user comfort. By following the data‑backed steps above, you’ll create a living room that feels spacious, well‑lit, and stylish, while also delivering SEO‑friendly content that attracts and retains readers. Remember to monitor performance, both in the physical space and on your website, and adjust as needed for optimal results.