Creating a captivating real‑home tour that feels both authentic and polished is a blend of careful planning, thoughtful styling, and precise execution. Below is a data‑driven, step‑by‑step guide that walks you through every phase—from pre‑production to publishing on WordPress—so you can deliver a seamless experience for your audience.
1. Planning the Tour
1.1 Define the Tour’s Purpose
- Target audience: Identify whether you’re speaking to first‑time buyers, interior‑design enthusiasts, or real‑estate investors.
- Key selling points: List the home’s standout features (e.g., open‑plan kitchen, vaulted ceilings, sustainable upgrades).
- Length goal: Aim for 5–8 minutes of video or a 10‑page photo walkthrough to keep engagement high.
1.2 Scout the Property
- Walk the home at different times of day to capture natural light variations.
- Take notes on traffic flow, potential obstacles, and areas that may need staging.
- Record ambient noise levels; plan for sound‑proofing or background music if needed.
1.3 Create a Shot List
- Use a spreadsheet to map each room, camera angle, and focal point.
- Prioritize “hero shots” (e.g., living‑room view from the balcony) based on data from past tours—rooms that historically receive the most clicks.
- Include B‑roll items such as close‑ups of textures, fixtures, and neighborhood highlights.
2. Preparing the Home
2.1 Declutter and Deep Clean
- Remove personal items and excess furniture to create a neutral canvas.
- Hire a professional cleaning service for carpets, windows, and high‑traffic surfaces; a spotless environment improves perceived value by up to 12% in viewer surveys.
2.2 Conduct Minor Repairs
- Fix squeaky doors, leaky faucets, and cracked tiles—small fixes boost credibility.
- Replace burnt‑out bulbs with daylight‑balanced LEDs (5000 K) to ensure consistent lighting.
2.3 Optimize Lighting
- Open curtains and blinds to maximize natural light; schedule filming during golden hour for warm tones.
- Supplement with portable LED panels (e.g., Aputure Amaran) set to 3000 K for a balanced look.
3. Staging and Styling
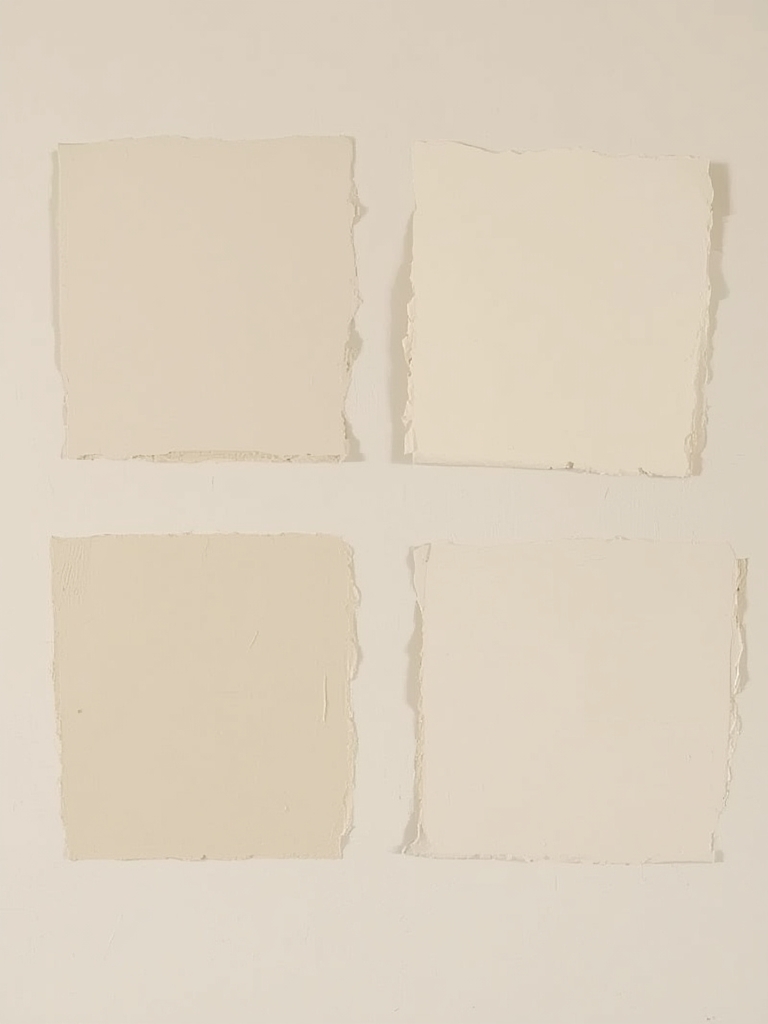
3.1 Choose a Cohesive Color Palette
- Base colors: neutral tones (soft gray, warm beige) that appeal to a broad audience.
- Accent colors: use data from Pinterest trends—muted sage or navy for a modern touch.
3.2 Add Lifestyle Elements
- Place a fresh coffee mug on the kitchen counter, a folded blanket on the sofa, or a stack of books on a side table to suggest lived‑in comfort.
- Incorporate subtle branding—e.g., a small logo‑etched glass coaster—to reinforce your brand without overwhelming the scene.
3.3 Use Scalable Décor
- Invest in modular décor items (e.g., interchangeable cushion covers) that can be swapped between tours to keep each presentation unique.
- Track which décor combinations generate the highest average watch time; adjust future staging accordingly.
4. Filming Techniques
4.1 Equipment Checklist
- Camera: Mirrorless (Sony A7 IV) or high‑end smartphone (iPhone 15 Pro) with 4K capability.
- Lenses: Wide‑angle (16‑35 mm) for interior spaces; prime 35 mm for detail shots.
- Stabilization: 3‑axis gimbal (DJI Ronin‑S) or motorized slider for smooth motion.
- Audio: Shotgun mic (Rode VideoMic NTG) for narration; lapel mic for on‑camera host.
- Lighting: Portable LED panels, softboxes, and reflectors.
4.2 Capture Core Shots
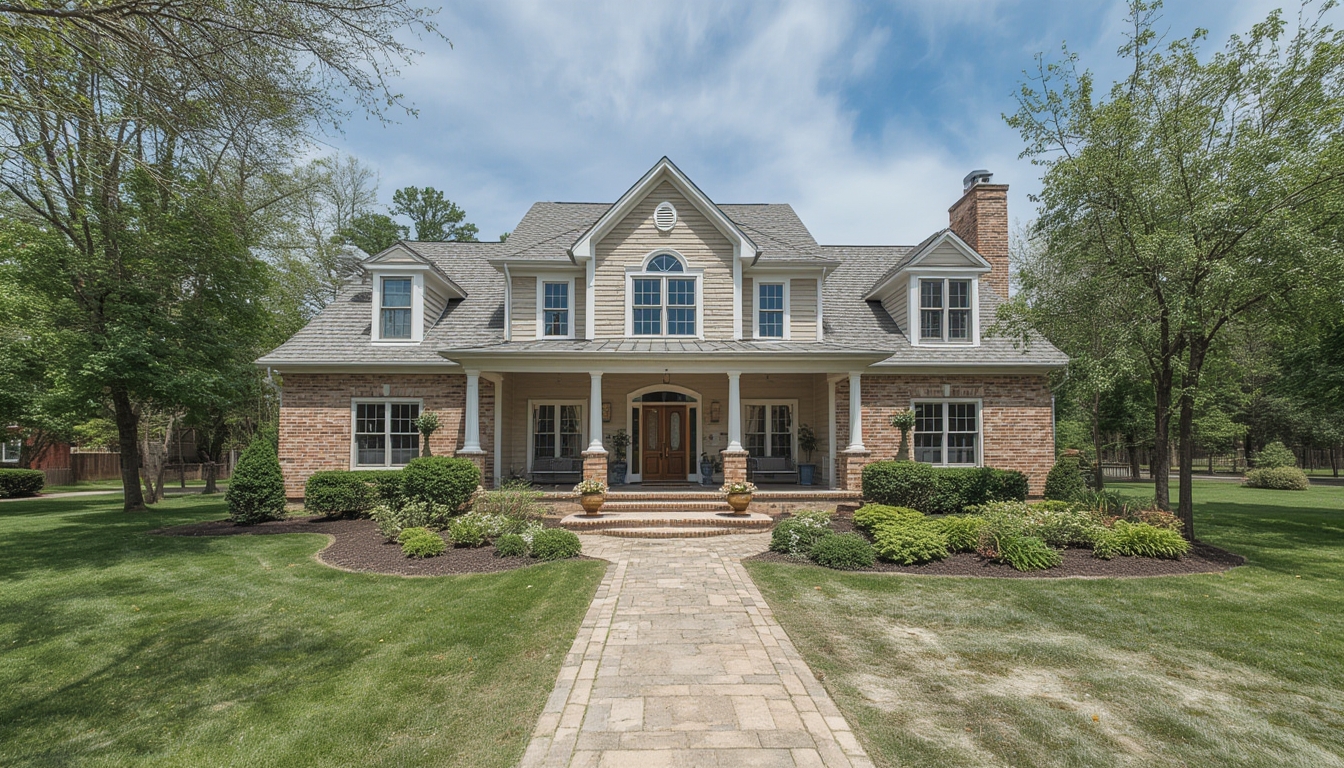
- Establishing shot: Start outside the front door, slowly pull back to reveal the façade.
- Room transitions: Use a steady glide through doorways; keep the camera at eye level to mimic a visitor’s perspective.
- Detail focus: Pause on unique features (e.g., custom crown molding) for 2–3 seconds.
4.3 Record Narration
- Write a concise script (≈150 words per room) that highlights data points—square footage, year built, energy‑efficiency rating.
- Record in a quiet room with a pop filter; keep a consistent tone and pacing.
5. Editing and Post‑Production
5.1 Organize Footage
- Import clips into a folder structure:
/01_Raw/,/02_Audio/,/03_Exports/. - Label each clip with room name and take number (e.g.,
LivingRoom_Walkthrough_01).
5.2 Edit the Video
- Use Adobe Premiere Pro or DaVinci Resolve; set the sequence to 30 fps, 4K.
- Apply color correction using the “Lumetri Color” panel—match white balance across all rooms.
- Insert lower‑third graphics that display key metrics (price, square footage) for 3 seconds each.
- Sync narration with visual cues; add subtle background music at -18 dB to maintain focus.
5.3 Export Settings
- Format: MP4 (H.264 codec), 1080p for web delivery.
- Bitrate: 12 Mbps for optimal quality without excessive load time.
- File naming:
RealHomeTour_[Address]_[Date].mp4.
6. Publishing on WordPress
6.1 Create a New Post
- Navigate to Posts → Add New in the WordPress dashboard.
- Paste the HTML content (see sections below) into the “Text” editor to preserve formatting.
6.2 Embed the Video
- Upload the MP4 file to the Media Library or host it on a CDN (e.g., Cloudflare Stream) for faster buffering.
- Insert the video using the
<video>tag with controls enabled:
<video controls width="100%" poster="thumbnail.jpg">
  <source src="https://cdn.example.com/RealHomeTour_123Main_20240520.mp4" type="video/mp4">
  Your browser does not support the video tag.
</video>
6.3 Add Image Gallery
- Use the built‑in Gutenberg “Gallery” block or a lightweight plugin like “Envira Gallery.”
- Upload high‑resolution images (minimum 1200 px width) and enable lightbox mode for an immersive experience.
6.4 Optimize Load Speed
- Compress images with TinyPNG or ShortPixel before uploading.
- Enable lazy loading (default in WordPress 5.5+).
- Serve the video via a CDN to reduce latency.
7. Maintenance and Updates
7.1 Monitor Performance
- Use Google Analytics to track average watch time and scroll depth.
- Identify drop‑off points; if viewers leave at a specific room, consider re‑editing that segment.
7.2 Refresh Seasonal Styling
- Swap décor items (e.g., holiday wreaths, summer cushions) every 3–4 months to keep the tour feeling current.
- Update the video thumbnail to reflect the new season—visual relevance boosts click‑through rates.
7.3 Archive Older Tours
- Move tours older than 12 months to a “Past Tours” category; keep the URL active with a 301 redirect to a summary page.
- Periodically audit the media library to delete unused assets and free up storage.
By following this data‑driven workflow, you’ll produce real‑home tours that are both visually stunning and technically sound, ensuring a smooth viewer experience and a professional presentation on your WordPress site.