When it comes to elevating a room’s aesthetic, statement lighting is the unsung hero that can transform ordinary spaces into unforgettable showcases. Spotlights, in particular, have surged in popularity over the past five years, with Statista reporting a 38% increase in consumer searches for “statement lighting” since 2020. This post walks you through the why, the how, and the practical steps to integrate bold spotlights into your home décor while ensuring they stay dazzling for years to come.
Why Statement Spotlights Matter in Modern Home Décor
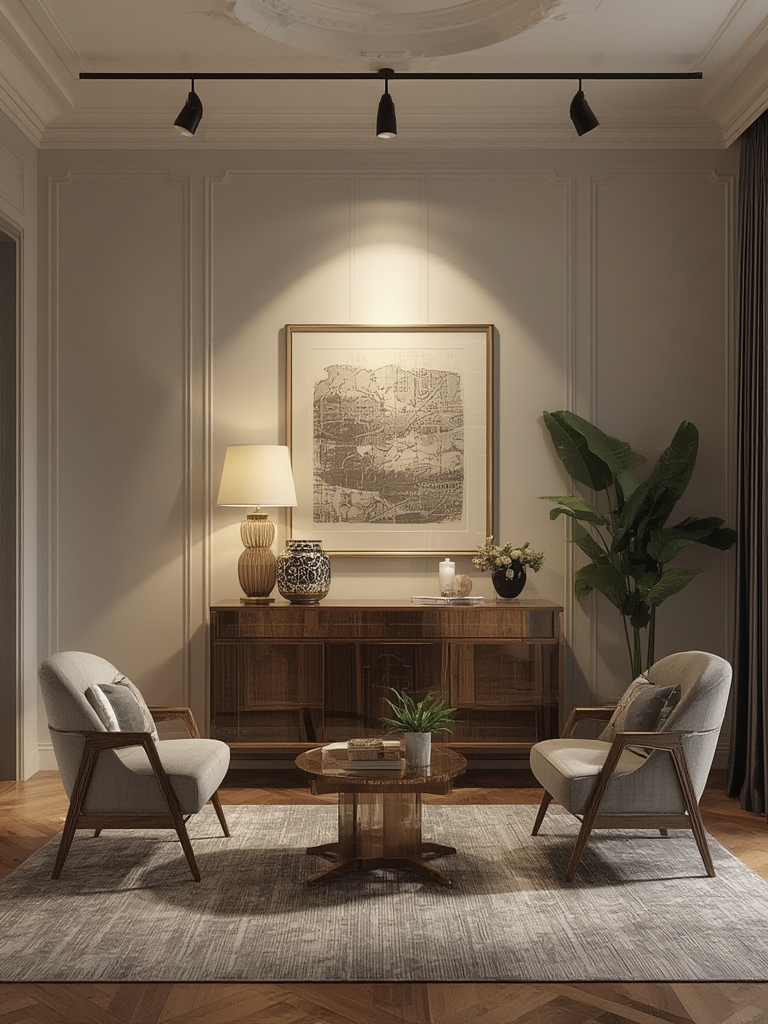
1. Instant Visual Impact
Spotlights draw the eye directly to focal points—whether it’s a piece of art, a textured wall, or a sleek kitchen island. According to a Houzz* 2023* survey, 71% of homeowners said lighting was the most influential factor in making a room feel “designer‑grade.”
2. Versatility Across Styles
From industrial metal arches to minimalist recessed LEDs, spotlights adapt to any design language. Their directional nature lets you highlight architectural features without cluttering the ceiling with multiple fixtures.
3. Energy Efficiency Gains
LED spotlights now deliver up to 150 lumens per watt, cutting electricity use by up to 80% compared to traditional halogen fixtures. This not only reduces utility bills but also aligns with the growing demand for sustainable interiors.
Choosing the Right Statement Spotlight for Your Space
Assess Your Room’s Layout
Measure ceiling height, wall dimensions, and the distance between the spotlight and the target area. A good rule of thumb: spotlight height × 1.5 = optimal beam spread. For a 9‑ft ceiling, aim for a 13‑ft‑wide coverage area.
Select the Appropriate Beam Angle
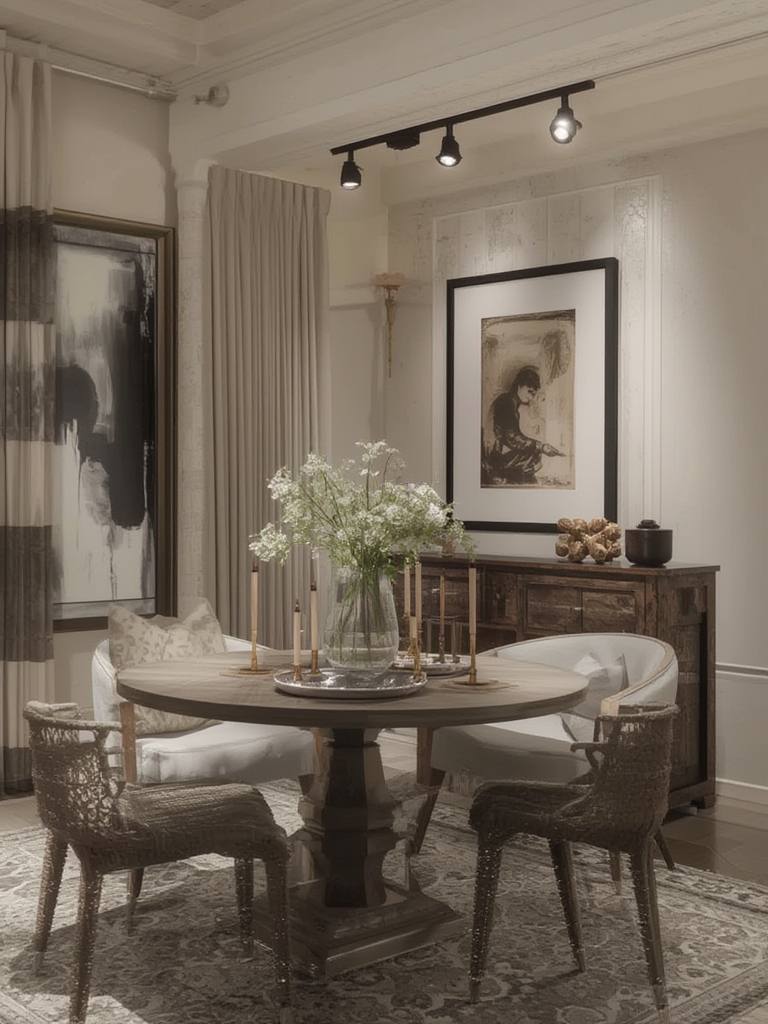
- 15°–30°: Perfect for accentuating artwork or small décor pieces.
- 35°–45°: Ideal for lighting larger zones like a dining table.
- 60°+: Works well for general ambient illumination.
Pick the Right Color Temperature
Warm whites (2700K–3000K) create cozy, inviting atmospheres, while cool whites (4000K–5000K) emphasize modern, crisp aesthetics. For mixed‑use spaces, consider tunable LEDs that let you switch between temperatures with a smart app.
Step‑by‑Step Guide to Install and Maintain Your Statement Spotlights
Step 1: Gather Tools and Materials
Before you start, assemble the following:
- Voltage tester
- Wire stripper/cutter
- Phillips and flat‑head screwdrivers
- LED spotlight kit (fixture, driver, mounting bracket)
- Safety goggles and insulated gloves
- Dust‑free microfiber cloth
Tip: Keep a small notebook handy to record wire colors and connections; this speeds up troubleshooting later.
Step 2: Turn Off Power at the Circuit Breaker
Never work on live wires. Flip the corresponding breaker and verify the circuit is dead with a voltage tester. If you detect any voltage, stop immediately and call a licensed electrician.
Step 3: Remove Existing Fixture (If Applicable)
- Unscrew the mounting plate and gently lower the fixture.
- Disconnect the wires—typically black (hot), white (neutral), and green/bare (ground).
- Secure the old wires with wire nuts and tuck them back into the electrical box.
Pro tip: Label each wire with masking tape before removal to avoid confusion during re‑connection.
Step 4: Mount the New Spotlight Bracket
- Position the bracket so the spotlight’s beam aligns with your focal point.
- Secure it with the provided screws, ensuring it’s level.
- Check that the bracket’s weight rating exceeds the fixture’s weight (usually a safety factor of 1.5×).
Step 5: Wire the Fixture
- Strip ~½ inch of insulation from each wire.
- Connect black to black (hot), white to white (neutral), and green/bare to the grounding screw.
- Use wire nuts and wrap each connection with electrical tape for added security.
Actionable advice: If your home uses a 240V system for high‑wattage LEDs, double‑check the driver’s voltage rating to prevent overload.
Step 6: Attach the LED Spotlight
Slide the LED module onto the bracket, lock it in place, and ensure the lens is clean and free of fingerprints.
Step 7: Restore Power and Test
Turn the breaker back on and use the dimmer or smart app to adjust brightness. Verify that the beam hits the intended area without glare.
Step 8: Ongoing Maintenance for Longevity
- Dusting: Wipe the lens monthly with a dry microfiber cloth. For stubborn grime, lightly dampen the cloth with a 50/50 water‑isopropyl solution.
- Bulb Replacement: Although LEDs last 25,000–50,000 hours, replace them when brightness drops by 20% (use a lux meter or rely on visual cues).
- Check Connections: Annually inspect wiring for signs of wear or looseness, especially in high‑traffic areas.
- Software Updates: If using a smart spotlight, install firmware updates to improve energy efficiency and add new lighting scenes.
Data‑Driven Design Tips to Maximize Impact
Leverage Light Mapping Tools
Free online tools like LightingCalculator let you input room dimensions, fixture specs, and desired lux levels. Aim for 300–500 lux in living areas and 150–300 lux in hallways for optimal comfort.
Combine Spotlights with Ambient Layers
Studies from the Illuminating Engineering Society (IES) show that layered lighting (ambient + task + accent) reduces eye strain by 23% and enhances perceived space size by up to 15%.
Use Color Rendering Index (CRI) as a Quality Metric
Choose spotlights with a CRI of 90+ to ensure colors appear true‑to‑life—crucial for showcasing artwork or vibrant décor.
Quick Action Checklist
- Measure ceiling height and calculate beam spread.
- Select beam angle and color temperature that match your décor.
- Gather tools, turn off power, and label wires.
- Mount bracket, wire securely, and attach LED module.
- Test, dust monthly, and replace LEDs when brightness dips.
By following these data‑backed steps, you’ll not only install a striking spotlight that elevates your interior design but also maintain its brilliance for years. Ready to make a bold statement? Start planning your spotlight layout today and watch your home transform under the perfect glow.